In this article, we’ll address an important question that many homeowners have pondered: can you replace shingles? Whether it’s due to age, damage, or a desire for a fresh new look, the idea of replacing shingles on your roof may seem daunting. However, fear not! We’ll explore the possibility of replacing just a few shingles, providing you with valuable insights and practical tips along the way. So, if you’ve ever wondered about the feasibility of tackling such a project yourself, read on to discover the answers you seek!
Can You Replace Shingles?

Understanding the Importance of Shingle Replacement
When it comes to maintaining the integrity of your roof, shingle replacement plays a crucial role. Shingles are an essential component of your roof, protecting it from various weather conditions, such as rain, wind, and even hail. Over time, shingles may become damaged or worn out, compromising their ability to provide adequate protection. Therefore, it is important to understand the signs of damaged shingles and the consequences of neglecting their replacement.
Assessing the Condition of Your Shingles
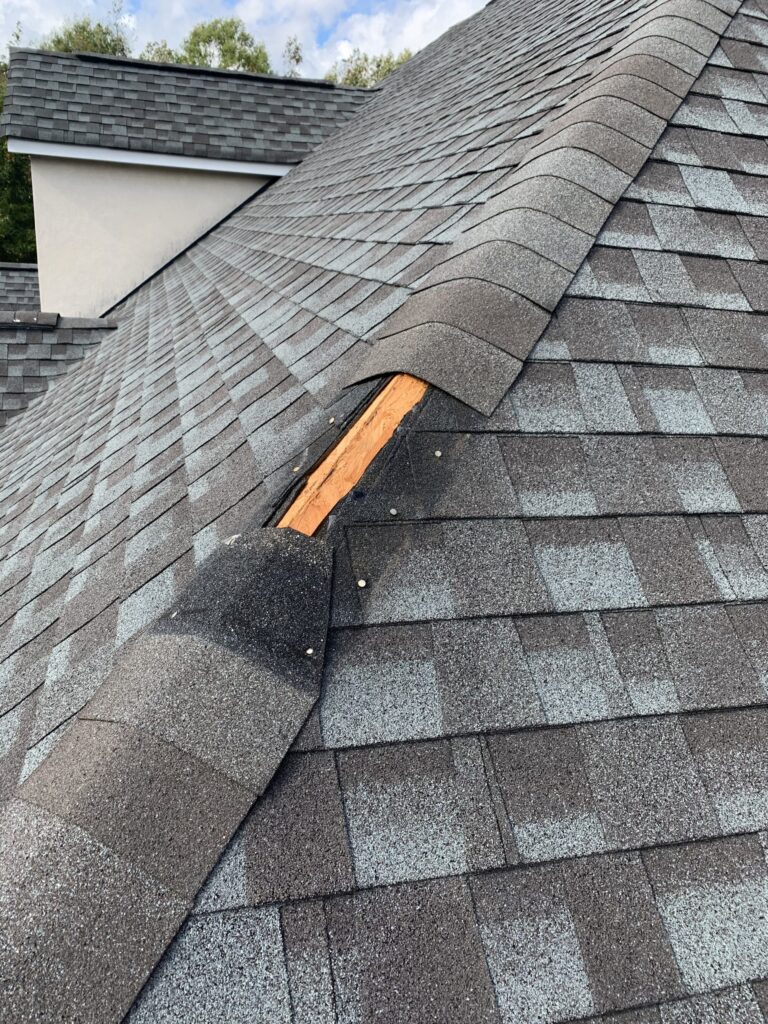
Before embarking on the shingle replacement process, it is essential to assess the condition of your existing shingles. A visual inspection can help you identify any visible signs of damage, such as cracks, curling, or missing shingles. Additionally, checking for loose shingles by gently lifting them can give you an idea of their stability. Evaluating the age of your shingles is also crucial, as older shingles are more likely to be worn out and in need of replacement.

Determining the Scope of Replacement
Once you have determined that shingle replacement is necessary, the next step is to determine the scope of the replacement. Depending on the extent of damage or wear, you may need to decide whether a partial replacement or a full replacement is required. If only a few shingles are damaged, a partial replacement may suffice. However, if a significant portion of your roof has compromised shingles, a full replacement may be necessary to ensure the longevity and effectiveness of your roof. Additionally, matching the replacement shingles to the existing ones is important for aesthetic consistency.
Gathering the Necessary Tools and Materials
Before starting the shingle replacement process, it is essential to gather all the necessary tools and materials. The tools required for shingle replacement include a hammer, pry bar, roofing nails, a utility knife, a roofing nail gun (optional), and a ladder. Additionally, you will need replacement shingles, roofing underlayment, roofing cement, and any necessary flashing materials. Ensuring that you have all the required tools and materials ready beforehand will make the replacement process more efficient.

Ensuring Safety During the Replacement Process
Safety should be a top priority when replacing shingles. Working at heights poses inherent risks, so it is important to take appropriate safety measures. Before starting, make sure to wear personal protective equipment (PPE) such as gloves, safety glasses, and non-slip footwear. It is also essential to secure the ladder properly and practice caution while climbing and descending. Additionally, taking precautions for roof stability, such as checking for weak spots or damage, will help prevent accidents during the replacement process.
Step-by-Step Guide to Replacing Shingles
Replacing shingles involves several steps to ensure a successful and long-lasting result. Following this step-by-step guide will help you accomplish the task effectively:
-
Safety Precautions: Before starting any work, ensure you have taken all the necessary safety precautions as discussed earlier.
-
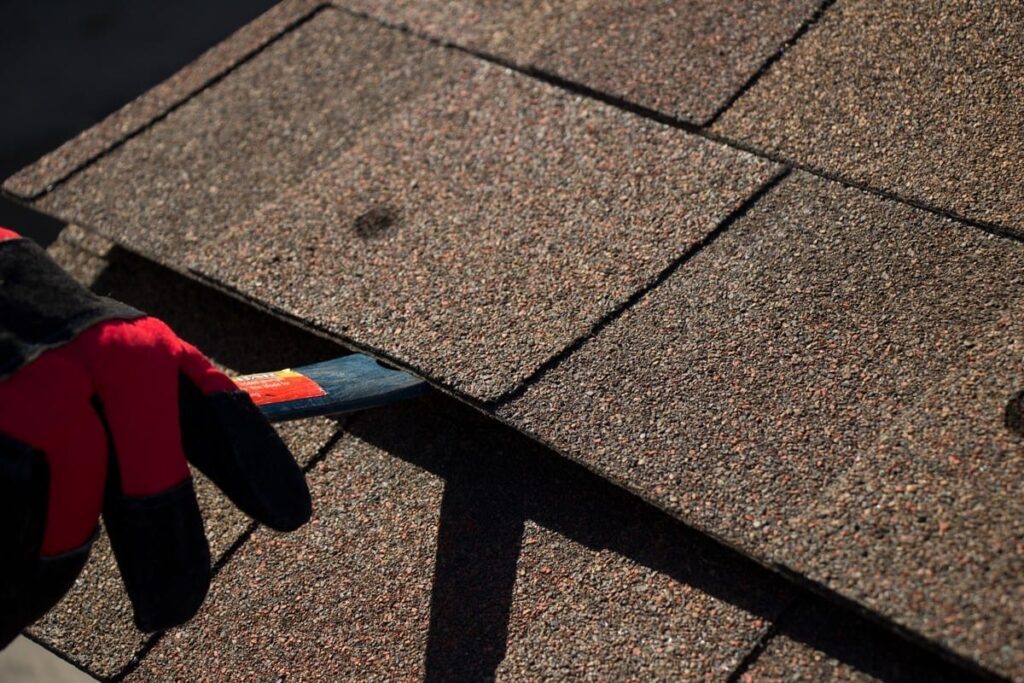
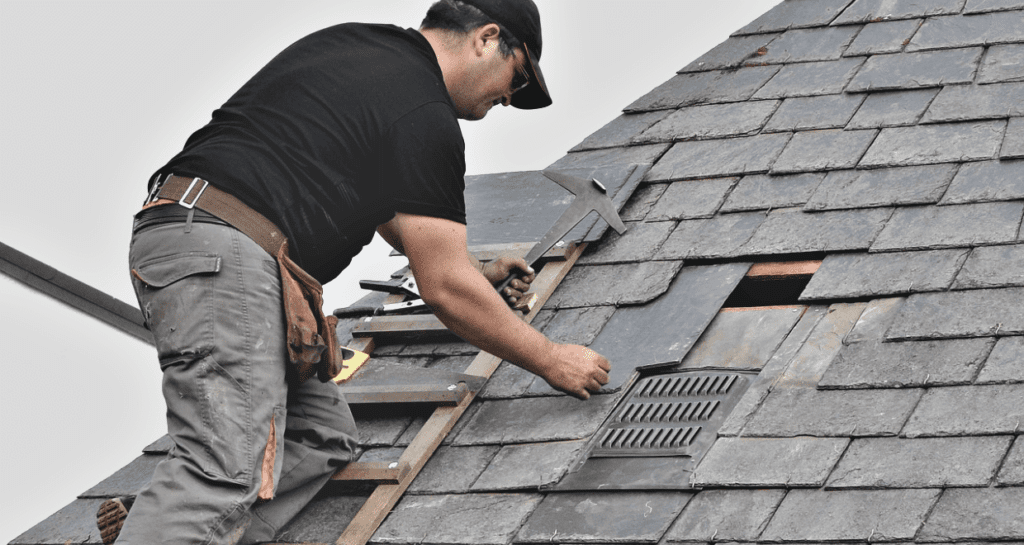
Removing Old Shingles: Using a pry bar or a shingle removal tool, gently lift the damaged shingles to remove the nails holding them in place. Be careful not to damage the surrounding shingles during this process.
-
Inspecting the Roof Deck: After removing the damaged shingles, inspect the roof deck for any signs of damage. Replace or repair any damaged sections to maintain the structural integrity of your roof.
-
Replacing Damaged Flashings: Check the flashings around chimneys, vents, and other roof penetrations for damage. If necessary, replace the damaged flashings to ensure a watertight seal.
-
Applying Underlayment: Before installing new shingles, it is essential to apply roofing underlayment to provide an additional layer of protection against water infiltration.
-
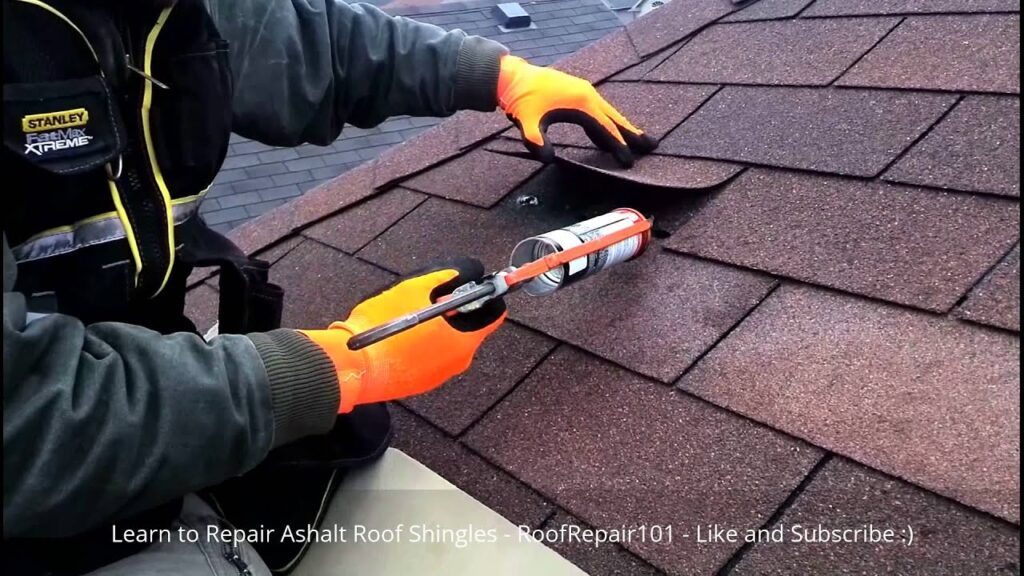
Installing New Shingles: Start at the bottom edge of the roof and work your way up, overlapping each row of shingles to prevent water from seeping underneath. Use a roofing nail gun or a hammer to secure the shingles in place.
-
Trimming the Shingles: Trim the shingles as needed to ensure a neat and uniform appearance. Use a utility knife to make precise cuts.
-
Utilizing Proper Nailing Techniques: When nailing the shingles, make sure to follow the manufacturer’s guidelines for nail placement and spacing. Improper nailing can lead to shingle damage and potential leaks.
-
Handling Roof Valleys and Edges: Pay special attention to areas such as roof valleys and edges, where water runoff is concentrated. Apply additional underlayment and overlapping shingles to provide enhanced protection.
-
Working Around Roof Penetrations: If your roof has any penetrations, such as vents or skylights, ensure that the shingles are properly trimmed and sealed around these areas to maintain a watertight seal.

Removing Damaged Shingles
To remove damaged shingles, you will need a pry bar or a shingle removal tool. Gently insert the pry bar under the damaged shingle and lift it up, releasing the nails that hold it in place. Be careful not to damage neighboring shingles during this process. Repeat this step for each damaged shingle until they are all fully removed.
Preparing the Roof Surface
Before installing new shingles, it is important to prepare the roof surface adequately. Start by cleaning the roof to remove any debris or dirt that may hinder proper shingle installation. Inspect the roof deck for any signs of damage, such as rot or decay, and replace or repair any compromised sections. Additionally, apply roofing underlayment to provide an additional protective layer between the shingles and the roof deck.

Post-Replacement Maintenance Tips
After successfully replacing your shingles, it is crucial to implement post-replacement maintenance to ensure the longevity and effectiveness of your roof. Regularly inspect the newly replaced shingles for any signs of damage or wear. Address any potential issues promptly to prevent further damage. It is highly recommended to schedule regular roof inspections by professionals to identify and address any issues before they escalate. Additionally, following a scheduled roof maintenance routine, such as cleaning gutters and removing debris, will help maintain your roof’s performance.
In conclusion, replacing shingles is a task that can be accomplished with careful planning, the right tools and materials, and a focus on safety. Understanding the importance of shingle replacement, assessing the condition of your shingles, determining the scope of replacement, gathering necessary tools and materials, ensuring safety, following a step-by-step guide, and implementing post-replacement maintenance are essential steps to successfully replace shingles and maintain the integrity of your roof. So, yes, you can replace just a few shingles, but it is important to consider the overall condition of your roof and address any underlying issues to ensure long-term protection and durability.