If you’re experiencing a roof leak, you may wonder if it’s possible to fix it from inside the attic. The good news is that for some situations, it is possible to patch a roof leak from inside the attic.
Before you grab your tools and start the repair, it’s important to understand the source of the leak and evaluate the severity of the issue. Additionally, taking the necessary safety precautions and using the right materials and techniques can ensure a successful repair.
In this article, we will guide you through the process of patching a roof leak from inside the attic. You’ll learn how to identify the source of the leak, evaluate its severity, gather the necessary tools and materials, and follow step-by-step techniques to fix the roof leak.
Key Takeaways:
- It’s possible to patch a roof leak from inside the attic for some situations.
- Identify the source and severity of the leak before attempting any repairs.
- Take necessary safety precautions and use the right materials and techniques for a successful repair.
- Follow our step-by-step guide to patching a leaky roof from inside the attic.
Understanding the Source of the Roof Leak
If you are facing a roof leak, it is vital to identify the source before attempting any repairs. Understanding the cause of the leak will help you determine whether it can be fixed from inside the attic.
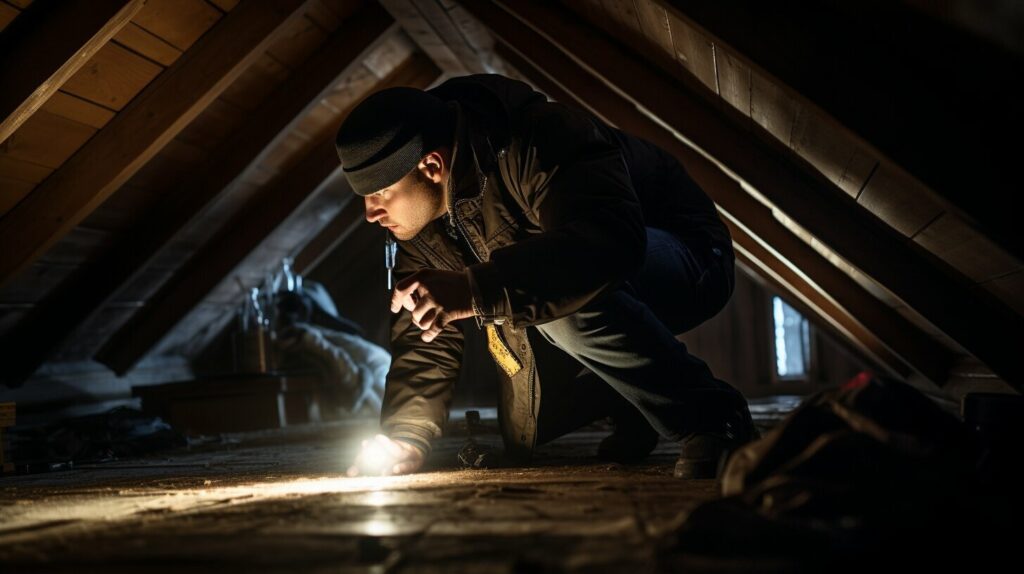
The first step in finding the source of a roof leak is to carefully examine your attic. Look for any signs of water damage or moisture around the area where the leak is occurring. Check the rafters, insulation, and ceiling for water stains or dampness.
If you cannot spot the source of the leak, you can try narrowing it down by waiting for a rainy day and checking where the water is coming in. Alternatively, you can use a garden hose to simulate rainfall and monitor where the water is entering the attic.
Once you have located the area where the water is entering, try to determine the cause of the leak. It could be due to damaged shingles or tiles, deteriorating sealant around vents or chimneys, or clogged gutters.
Remember to prioritize safety when examining your roof and attic. It is best to work during daylight hours and avoid working on a wet or slippery roof. If you are uncertain or uncomfortable with the process, seek professional help.
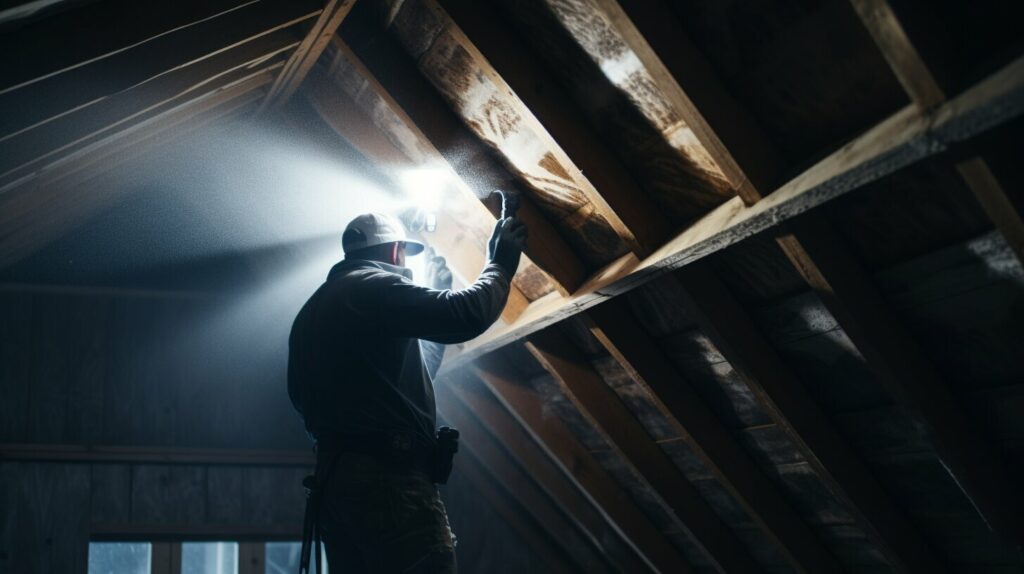
Evaluating the Severity of the Leak
Once you have identified the source of the roof leak, it is crucial to assess the severity of the issue before attempting to patch it from inside the attic. This will help you determine whether this is a repair you can do on your own or whether you need to seek professional help.
If the leak is minor and only affects a small section of the roof, you may be able to fix it yourself. However, if the leak is extensive and affects a larger area of the roof, it is recommended to seek professional assistance. Attempting to fix a severe leak yourself may do more harm than good, leading to further damage and costly repairs down the line.
When evaluating the severity of the leak, consider the following factors:
- The size of the leak
- The age and condition of the roof
- The location of the leak
- The amount of water damage present
If the leak is small and isolated to a specific area of the roof, fixing it from inside the attic may be a feasible solution. However, if the leak is widespread and has caused significant water damage to your home, it is best to consult with a professional roofing contractor.
Keep in mind that while patching a roof leak from inside the attic may temporarily fix the issue, it is often a band-aid solution. To ensure the long-term health of your roof and home, it is important to address the root cause of the leak and implement proper maintenance and repairs.
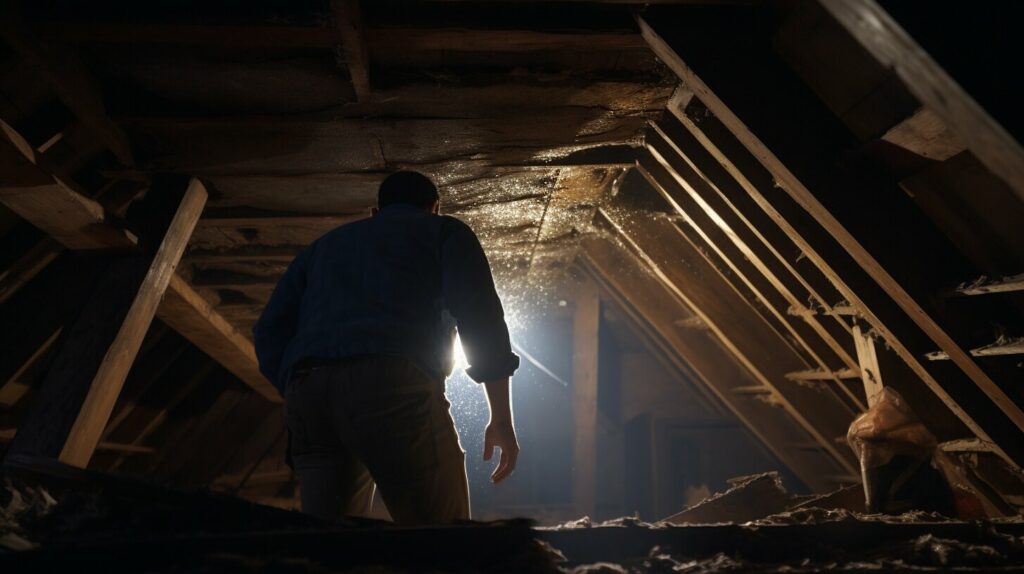
Fixing a leaky roof from inside the attic requires careful evaluation of the severity of the issue to ensure the safety and effectiveness of the repair.
Tools and Materials Needed for Patching
Repairing a leaky roof from inside the attic requires specific tools and materials. Being prepared with the right supplies will ensure that you can effectively patch the roof leak. Here is a comprehensive list of the necessary items:
- Patching materials: This includes roofing cement, roof patching tape, and roof repair fabric. These materials are used to cover and seal the leak.
- Caulk gun: You will need a caulk gun to apply the roofing cement and other patching materials.
- Measuring tape: Measure the size of the leak so that you can accurately cut the patching material.
- Utility knife: Use a utility knife to trim the patching material to the correct size and shape.
- Safety gear: It is essential to prioritize safety when patching a roof leak. Wear gloves, safety goggles, and a face mask to protect yourself from any harmful materials.
Having these tools and materials on-hand will make the patching process much smoother and more efficient. Make sure you are fully equipped before attempting to fix the leak.

Safety Precautions to Consider When Fixing Roof Leaks from Inside Attic
Before attempting any repairs to fix a leaky roof from inside the attic, your safety should be your top priority. Here are some essential safety precautions to consider:
- Wear protective gear: Always wear protective clothing, including gloves, goggles, and a face mask, to protect yourself from harmful insulation materials and other debris that may be present in the attic.
- Ensure proper ventilation: Before entering the attic, make sure that the space is properly ventilated to prevent inhaling toxic fumes or experiencing heat exhaustion.
- Check for electrical hazards: Examine the area for exposed wires or other electrical hazards and ensure that the power is turned off in the affected areas.
- Use proper tools and equipment: Make sure that you have access to a sturdy ladder, appropriate tools, and materials to successfully repair the roof leak.
- Work with a partner: It is recommended to have a partner working with you to assist with the repairs and to assist in case of an accident.
By following these safety precautions, you can ensure a safe and successful roof leak repair from inside the attic.
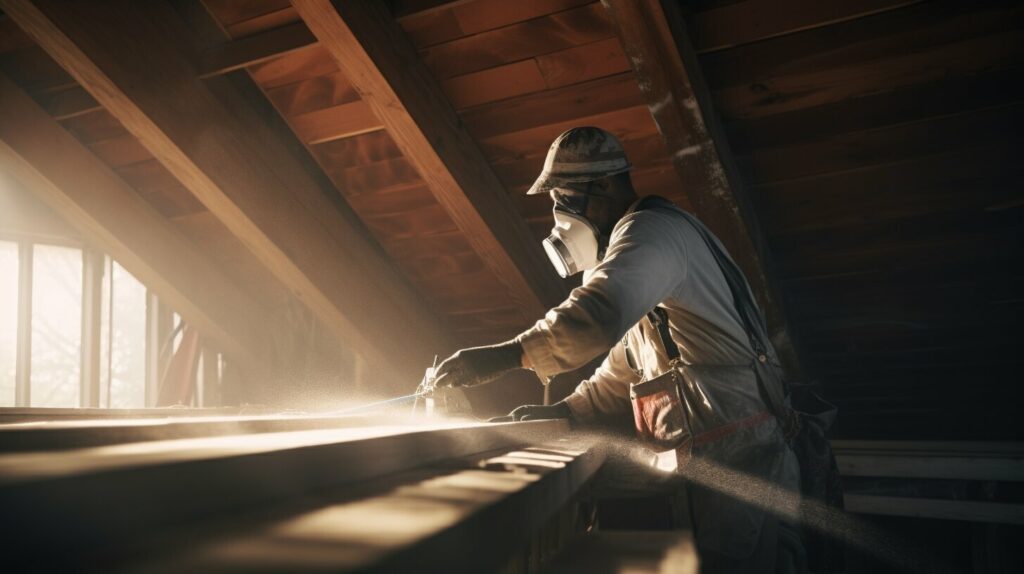
Patching Techniques for Different Types of Leaks
Fixing a leaky roof from inside the attic requires knowledge of the type of leak you’re dealing with. Here are some common types of leaks and the appropriate patching techniques:
| Leak Type | Patching Technique |
|---|---|
| Small puncture in shingles | Option 1: Apply roofing cement over the damaged area. Option 2: Cover puncture with metal flashing and secure with roofing cement. |
| Cracked or loose shingles | Replace damaged shingles or re-secure loose shingles with roofing cement or nails. |
| Cracked flashing | Remove damaged flashing and replace with a new one. Secure with roofing cement. |
| Small hole in roof | Cover the damaged area with a patch of roofing membrane or shingles. Secure with roofing cement. |
Remember, these are just general techniques and may not be suitable for all situations. If you’re unsure about how to proceed with the patching process, it’s best to seek professional help.
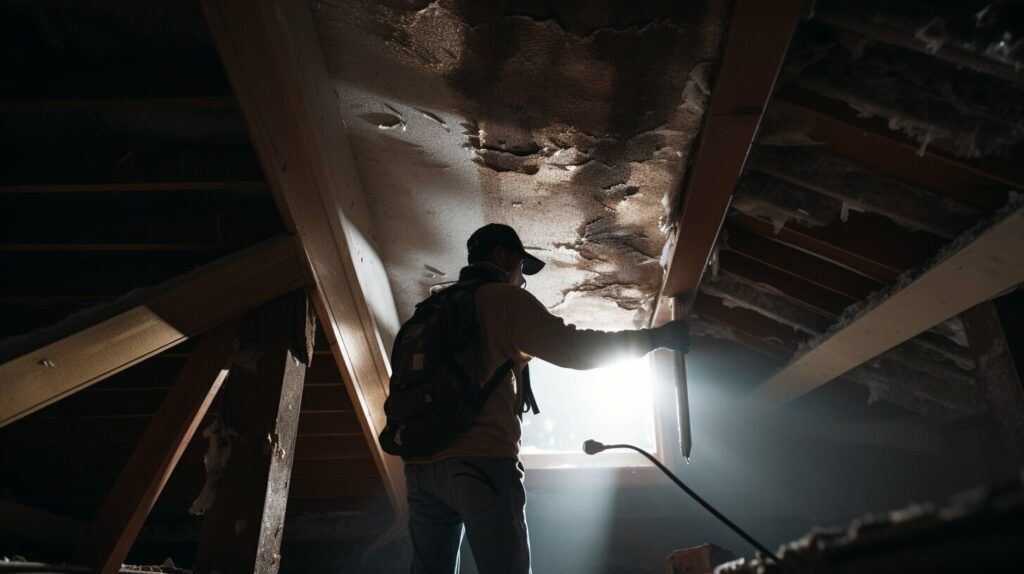
Step-by-Step Guide to Patching a Roof Leak from Inside Attic
Now that you have identified the source of the leak and evaluated its severity, it’s time to start patching the roof leak from inside the attic. Follow these steps to effectively repair the leak:
- Prepare the area: Start by clearing any debris or insulation from the area around the leak. This will provide a clear workspace for the repair.
- Locate the leak: Use a flashlight to locate the exact spot where the water is entering the attic. Mark the spot with a pencil or tape.
- Apply roof sealant: Using a caulk gun, apply roof sealant around the marked area. Be sure to completely cover the area with sealant, extending it several inches beyond the leak to prevent any future leaks. Allow the sealant to dry completely.
- Apply roof patch: Apply a roof patch over the sealed area, using roofing nails to secure it in place. Follow the manufacturer’s instructions on the patch package for best results.
- Inspect the repair: Once the patch is secure, inspect the repair from the outside of the roof to ensure it was successful and there are no gaps or visible damage.
Following these steps will help you effectively patch a roof leak from inside the attic. Remember to prioritize safety and use the appropriate tools and materials.

Additional Tips for Successful Roof Leak Patching
Along with the step-by-step guide provided, here are some additional tips to ensure a successful roof leak repair from inside the attic:
1. Use the right materials
Ensure that you use materials recommended for the type of roofing system you have. Using the wrong materials could lead to further damage and leaks. Additionally, ensure that the materials are of good quality to avoid future leaks.
2. Apply the patch correctly
Make sure that the patch is applied correctly and covers the entire area of the leak. Apply enough sealant to create a tight seal and prevent water from seeping through. Use a putty knife or similar tool to smooth the patch and remove any air bubbles.
3. Consider reinforcing weak spots
If you notice weak spots or areas that are prone to leaks, consider reinforcing them with additional patches or materials. This will provide added protection and prevent future leaks in those areas.
4. Check for additional leaks
After patching the identified leak, check the surrounding areas for any additional leaks. It’s not uncommon for multiple leaks to occur in close proximity to each other. Fixing all leaks will ensure complete protection from water damage.
5. Regularly inspect your roof
Regularly inspecting your roof for potential leaks will allow you to catch them early and prevent extensive damage. Look for signs such as water stains, bulges, or cracks. Inspect the exterior of your roof as well to identify any issues that may not be visible from inside the attic.
By following these additional tips, you can ensure a successful patching process and prevent future leaks. Remember to prioritize your safety and seek professional help if necessary.
Signs of a Successful Patch and Maintenance Tips
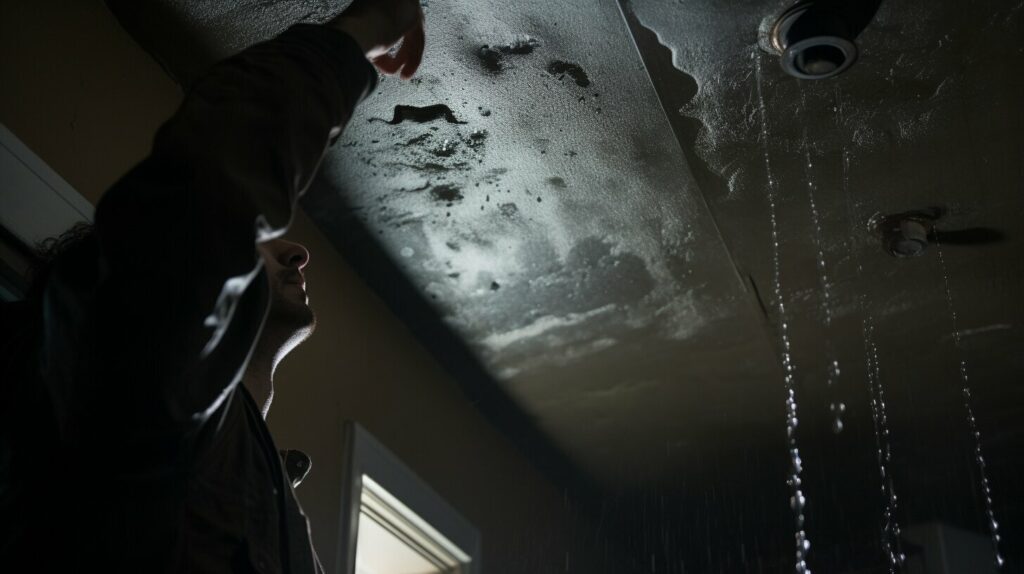
After patching a roof leak from inside the attic, it is important to verify if the repair was successful. One sign to look for is a decrease in the amount of water coming in during heavy rain. Another indication is a reduction in water stains on the ceiling or walls near the previously leaking area.

However, it is recommended to check on the patch regularly to ensure it holds up over time. Maintenance is crucial to prevent future leaks and extend the lifespan of your roof. Regularly inspect your roof and attic for any signs of damage or wear and tear. Also, keep your gutters and downspouts clean to ensure proper water flow and drainage.
When to Seek Professional Help
While patching a roof leak from inside the attic is possible for some cases, there may be instances where professional help is necessary. If you have attempted to patch the roof leak and the problem persists, it may be time to call in a roofing professional. They will be able to offer expert advice on how to repair the leak effectively.
If the roof leak is extensive or the damage is severe, it is recommended to seek professional help. A roofing professional will have the necessary tools and expertise to address the issue safely and efficiently. Additionally, if you are uncomfortable working at heights or with roofing materials, it is best to leave the repair to the professionals.
It is important to note that attempting to patch a roof leak without the proper knowledge and tools can lead to more extensive damage and costly repairs in the long run. So, if you are unsure about how to repair the roof leak or if you have any concerns about your safety, it’s time to call in the pros.
Remember, your safety and the integrity of your home’s structure should always be a top priority. So, don’t hesitate to seek professional help when needed.
Conclusion
Congratulations! You have learned how to patch a roof leak from inside the attic. By following the steps outlined in this article, you are well-equipped to fix those pesky leaks and protect your home from potential damage. Remember to always prioritize safety and be prepared with the necessary tools and materials.
When to Seek Professional Help
It is important to note that while patching a roof leak from inside the attic is possible for some situations, there may be instances where professional help is necessary. If you are unsure about the severity of the leak or if you do not have the necessary skills or equipment, it may be best to consult with a roofing professional. They can accurately assess the issue and provide optimal solutions to address the problem.
Maintaining Your Roof
After successfully patching the roof leak, it is important to maintain your roof to prevent future leaks. Regular inspections and maintenance can identify issues before they become major problems. Keep an eye out for signs of wear and tear, and address them promptly. Additionally, ensure that your gutters are clean and functioning properly to prevent water buildup and potential leaks.
By taking the necessary precautions and implementing the techniques outlined in this article, you can keep your home safe and protected from the damaging effects of roof leaks. Happy patching!
FAQ
Q: Can you patch a roof leak from inside the attic?
A: Yes, it is possible to patch a roof leak from inside the attic. By properly identifying the source of the leak and following the appropriate techniques, you can effectively repair the roof leak from inside.
Q: How can I locate the source of a roof leak from inside the attic?
A: To locate the source of a roof leak from inside the attic, you can look for signs of water damage, follow the trail of the leak, or use a flashlight to inspect the area for any visible cracks or holes.
Q: How do I evaluate the severity of a roof leak?
A: To evaluate the severity of a roof leak, you can assess the amount of water entering the attic, the extent of water damage, and the frequency of the leak. This will help you determine whether it can be fixed from inside the attic or if professional help is needed.
Q: What tools and materials do I need to patch a roof leak from inside the attic?
A: Some tools and materials you may need include a ladder, roofing cement, roofing nails, a pry bar, a caulking gun, a putty knife, and roof patching material. It is important to have these items ready before starting the repair process.
Q: What safety precautions should I consider when patching a roof leak from inside the attic?
A: When patching a roof leak from inside the attic, it is important to wear protective gear such as gloves and goggles. Additionally, make sure to use a sturdy ladder, avoid working during inclement weather, and be cautious of electrical hazards.
Q: Are there different patching techniques for different types of roof leaks?
A: Yes, patching techniques may vary depending on the type of roof leak. For example, a small crack may be fixed with roofing cement, while a larger hole may require the use of patching material and roofing nails. It is important to identify the type of leak and apply the appropriate technique.
Q: What is the step-by-step guide for patching a roof leak from inside the attic?
A: The step-by-step guide for patching a roof leak from inside the attic includes preparing the area, cleaning and drying the surface, applying roofing cement or patching material, and ensuring a secure seal. It is important to follow each step carefully for a successful repair.
Q: Are there any additional tips for a successful roof leak patching?
A: Yes, some additional tips for a successful roof leak patching include ensuring a clean and dry surface before applying the patch, using a generous amount of roofing cement or patching material, and allowing proper drying time. These tips will enhance the effectiveness of the repair.
Q: How can I tell if the roof leak has been successfully patched?
A: You can tell if the roof leak has been successfully patched by checking for signs of water intrusion, such as no further water stains or dripping in the attic. It is also advisable to regularly inspect the area for any new signs of leaks and address them promptly.
Q: When should I seek professional help for a roof leak from inside the attic?
A: It is recommended to seek professional help for a roof leak from inside the attic if the leak is extensive, the source cannot be easily identified, or if you are uncomfortable performing the repair yourself. Professional assistance ensures the safety and effectiveness of the repair.