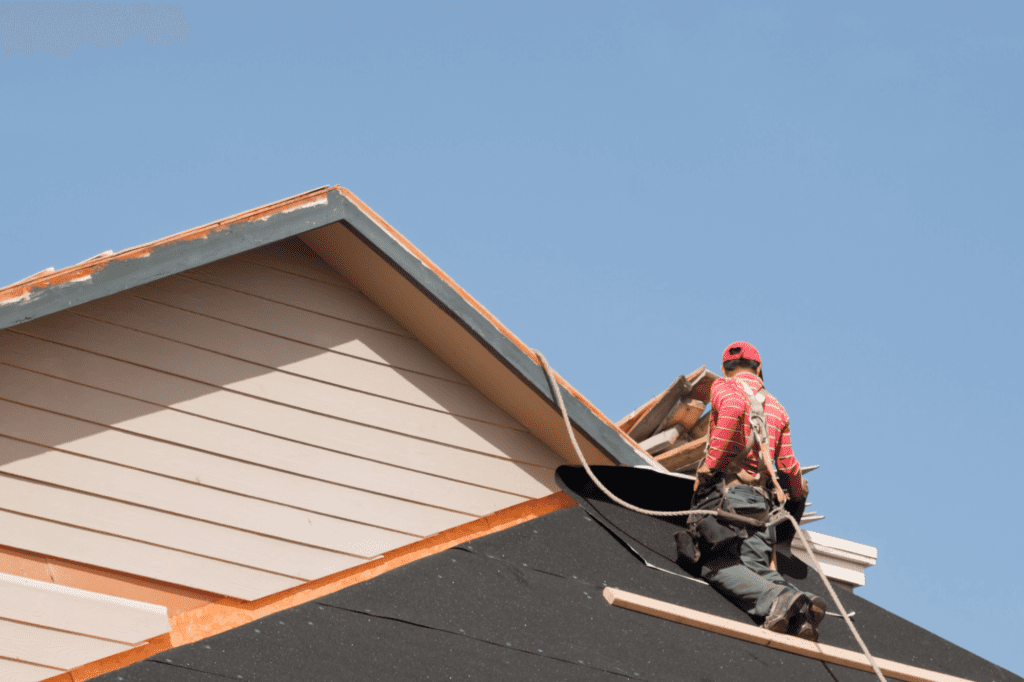
Imagine being able to tackle a major home improvement project all on your own – the satisfaction of a job well done and the money saved by not hiring a professional. But is it really possible for just one person to reroof a house? In this article, we’ll explore the practicality and challenges of taking on this daunting task solo. Get ready to discover if you have what it takes to embark on this ambitious DIY project!
Assessing the Roofing Project
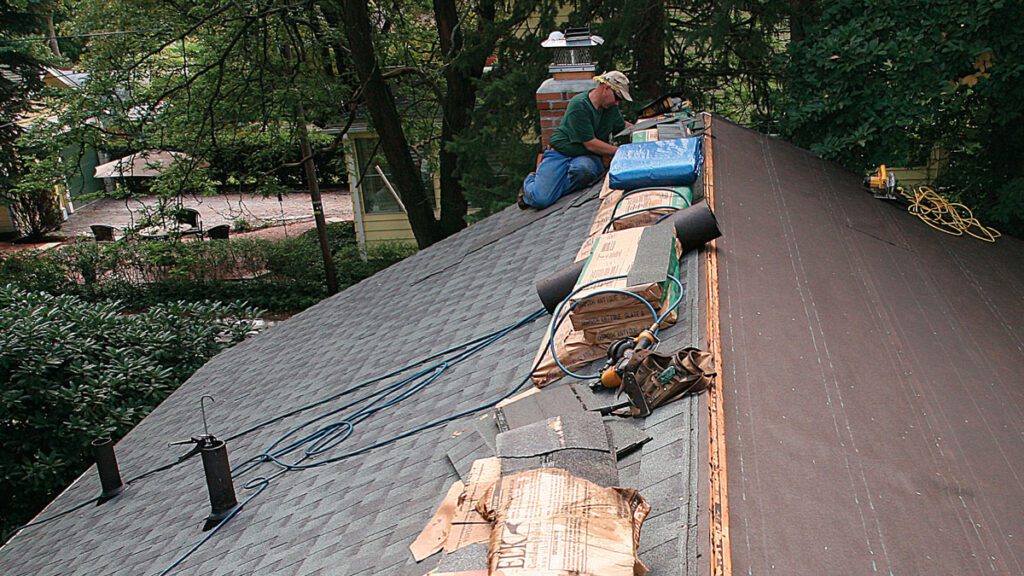
When it comes to reroofing a house, it’s essential to start by assessing the scope of work. This involves determining the extent of the project and the materials and equipment needed. To do this effectively, you should check the condition of the roof and calculate the necessary supplies.
Determining the Scope of Work
Before embarking on a reroofing project, it’s crucial to determine the scope of work. Assessing the size of the roof, identifying any underlying structural issues, and understanding the complexity of the project will help you plan accordingly. Consider factors such as the number of layers of roofing materials to be removed, any necessary repairs to the roof deck or decking, and the installation of new shingles.
Checking the Roof’s Condition
To ensure a successful reroofing project, it’s important to thoroughly inspect the roof’s condition. Look for signs of damage, such as cracked or missing shingles, leaks, or any sagging areas. Identifying any underlying issues will allow you to address them before starting the reroofing process. Additionally, checking the integrity of the roof’s structure will ensure a solid foundation for the new materials.
Calculating Materials and Equipment Needed
Once you have assessed the scope of work and determined the roof’s condition, it’s time to calculate the materials and equipment needed for the project. Measure the roof’s square footage to determine the amount of shingles, underlayment, and other supplies required. Make a list of necessary tools, such as a roofing hammer, ladder, safety harness, and a roofing nail gun. By accurately calculating the materials and equipment needed, you can ensure a smooth and efficient reroofing process.
Preparations and Safety Measures
Before starting the reroofing project, it’s essential to make necessary preparations and follow safety measures. Securing permits and regulations, organizing tools and equipment, ensuring personal safety, and protecting the surrounding area are critical steps to ensure a successful and safe project.
Securing Permits and Regulations
Depending on your location, you may be required to obtain permits or comply with specific regulations before reroofing your house. Check with your local building department to determine if any permits are necessary for your project. Adhering to these regulations will help ensure that the reroofing work is done safely and in accordance with local building codes.
Organizing Tools and Equipment
Proper organization of tools and equipment is crucial for a smooth reroofing process. Before starting, gather all the necessary tools, such as shingle removers, roofing hammers, nails, and safety equipment. Organize them in a way that allows easy access and ensures you have everything needed to complete the project efficiently.
Ensuring Personal Safety
Prioritizing personal safety is of utmost importance throughout the reroofing project. Ensure you have the appropriate safety gear, such as a hard hat, safety glasses, gloves, and steel-toed boots. Consider using a safety harness and fall protection equipment if working at heights. Additionally, be mindful of your surroundings and avoid working on the roof during inclement weather conditions.
Protecting the Surrounding Area
Reroofing involves the removal of old materials, which can create a significant amount of debris. Take steps to protect the surrounding area from damage during the project. Cover windows, landscaping, and any valuable items near the work area with tarps or plywood sheets. This will help prevent accidental damage from falling debris and make the cleanup process easier once the reroofing is complete.
Removal of Old Roofing Materials
Before installing the new roof, it’s important to remove the old roofing materials properly. Inspecting and clearing the roof, removing shingles and underlayment, and disposing of debris are crucial steps in this phase.
Inspecting and Clearing the Roof
Begin by inspecting the roof and identifying any areas that need attention. Clear away any loose debris, such as leaves or twigs. Pay close attention to valleys, joints, and corners where debris may accumulate. Cleaning and preparing the roof surface will ensure a smooth installation of the new materials.
Removing Shingles and Underlayment
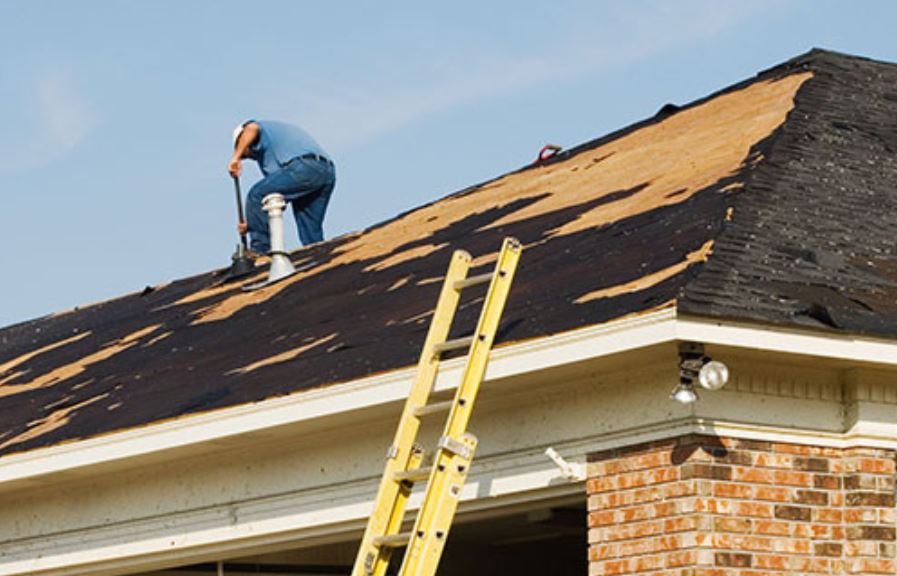
Once the roof is clear, start removing the old shingles and underlayment. Using a shingle remover or a flat-bladed shovel, carefully pry up the shingles and remove them from the roof. Take care not to damage the underlying structure or decking in the process. Once the shingles are removed, remove the old underlayment layer by layer, being mindful of any nails or staples that may be holding it down.
Disposing of Debris Properly
As you remove the old materials, it’s important to dispose of them properly. Check with your local waste management facility or dumpster rental service for guidance on how to dispose of roofing debris. Some areas may require you to separate the materials for recycling, while others may have specific guidelines for disposing of roofing waste. Following the proper disposal methods will help maintain a clean and environmentally-friendly work area.
Roof Deck Preparation
Preparing the roof deck is a crucial step in ensuring a stable and durable reroofing project. Checking for damaged decking, replacing or repairing it as needed, and installing drip edge and ice and water shield will help create a solid foundation for the new roof.
Checking for Damaged Decking
Before installing the new roof, thoroughly inspect the roof deck for any signs of damage. Look for rotting or weak areas, sagging spots, or any issues that may compromise the integrity of the roof. Addressing these issues promptly will prevent further problems and provide a stable base for the new materials.
Replacing or Repairing Decking
If you discover damaged or weakened decking during the inspection, it’s crucial to replace or repair it as needed. Use a pry bar to remove the damaged sections and replace them with new plywood or OSB decking. Ensure that the replacement decking is securely fastened and properly aligned with the existing deck.
Installing Drip Edge and Ice and Water Shield
To protect the edges of the roof and prevent water infiltration, it’s important to install a drip edge. Secure the drip edge along the eaves and gables of the roof, ensuring that it extends over the edge and into the gutter. Additionally, consider installing an ice and water shield in areas prone to ice dams or high water infiltration. This self-adhesive membrane provides an extra layer of protection against water damage.
Installing Underlayment and Flashing
Properly installing underlayment and flashing is essential for a leak-free and durable roof. Selecting and applying the appropriate underlayment and securing flashing and vent boots are important steps in this phase.
Selecting and Applying Roofing Underlayment
Choosing the right roofing underlayment is crucial in ensuring the longevity and protection of your new roof. There are various types of underlayment available, such as asphalt-saturated felt, synthetic underlayment, or rubberized asphalt membrane. Consult with roofing professionals or refer to manufacturer guidelines to select the most suitable underlayment for your climate and roofing material. Follow the manufacturer’s instructions to properly apply and secure the underlayment.
Securing Flashing and Vent Boots
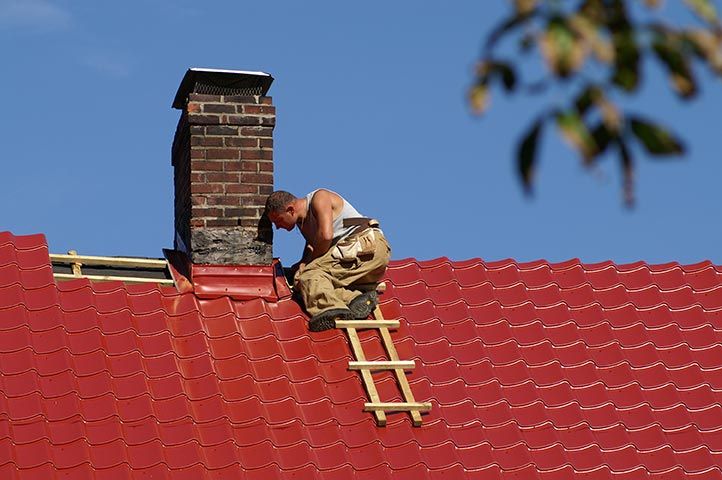
To prevent water from entering vulnerable areas of the roof, flashing and vent boots must be properly installed and secured. Flashing is used around chimneys, vents, and valleys to provide a watertight seal. Vent boots are installed over plumbing vent pipes to prevent leaks. Ensure that flashing and vent boots are properly aligned and fastened to the roof deck, providing a seamless and waterproof barrier.
Installing New Shingles
Installing new shingles is the most visible and transformative part of the reroofing process. Choosing the right shingle type, starting at the bottom with starter shingles, laying shingles with proper overlap, securing them with nails, and installing ridge vents and cap shingles are key steps in this phase.
Choosing the Right Shingle Type
The choice of shingle type plays a significant role in the aesthetics and durability of your roof. There are various options available, including asphalt shingles, wood shakes, metal roofing, or clay tiles. Consider factors such as your budget, climate, and architectural style when selecting the right shingle type for your reroofing project.
Starting at the Bottom with Starter Shingles
Begin the shingle installation process by placing starter shingles along the eaves of the roof. These specially designed shingles have an adhesive strip that helps secure the subsequent rows of shingles. Start from one corner and work your way across the eaves, making sure the starter shingles align properly.
Laying Shingles with Proper Overlap
When laying the shingles, ensure they are properly overlapped to create a watertight barrier. Follow the manufacturer’s instructions regarding the required overlap, typically around 6 inches. Use a chalk line to ensure straight rows and maintain a consistent pattern as you work your way up the roof.
Securing Shingles with Nails
Properly securing the shingles with nails is essential in ensuring they stay in place during high winds and other weather conditions. Place the nails in the designated areas on the shingles, typically above the adhesive strip. Be mindful of the recommended nail length and placement provided by the shingle manufacturer. Over- or under-driving the nails can compromise the shingles’ integrity.
Installing Ridge Vents and Cap Shingles
To ensure proper ventilation in your attic, consider installing ridge vents along the roof’s ridges. Ridge vents help exhaust hot air and moisture, extending the lifespan of your roof and preventing damage. Additionally, cap shingles are installed at the peak or hip of the roof, providing a finished look and added protection. Follow the manufacturer’s instructions for installing ridge vents and cap shingles to ensure proper functionality and aesthetics.
Completing the Roofing Project
As the reroofing project nears completion, it’s important to carry out a final inspection, clean the work area, and ensure proper ventilation.
Inspecting the Finished Roof
After the installation of the new roof is complete, it’s crucial to conduct a thorough inspection. Check for any visible issues, such as misaligned or damaged shingles, unsecured flashing, or gaps in the ridge vents. Address any problems promptly to ensure the roof’s integrity and prevent potential leaks or other issues.
Cleaning the Work Area
Throughout the reroofing process, debris and materials may have accumulated around the work area. Cleaning up the site is important for safety and aesthetics. Collect and dispose of any remaining debris, remove tarps or protective coverings, and ensure the surrounding areas are free from roofing nails or other potential hazards.
Ensuring Proper Ventilation
Proper ventilation is essential for the longevity and performance of your new roof. Ensure that attic vents are clear of debris and unobstructed to allow for proper airflow. Additionally, check that ridge vents and other ventilation components are functioning as intended. Adequate ventilation helps prevent moisture buildup, increases energy efficiency, and prolongs the life of your roof.
Considerations for DIY Reroofing
While reroofing a house can be a rewarding DIY project, it’s important to consider certain factors before taking on the task alone. Skills and experience, time and energy commitment, budget and cost effectiveness, and assistance and backup plans are key considerations.
Skills and Experience
Reroofing requires a certain level of skill and experience to ensure a successful outcome. Assess your knowledge of roofing techniques, familiarity with the necessary tools and materials, and ability to navigate any unexpected challenges. If you lack the necessary skills and experience, it may be beneficial to consult with or hire a professional roofing contractor.
Time and Energy Commitment
Reroofing a house is a time-consuming project that requires a significant amount of effort and energy. Consider your availability and commitment to complete the project within a reasonable time frame. Evaluate whether you have the necessary time and energy to devote to the project or if your schedule and lifestyle would be better accommodated by hiring professionals.
Budget and Cost Effectiveness
Reroofing can be a costly endeavor, considering the materials, equipment, and potential unforeseen expenses. Evaluate your budget and determine if it allows for the necessary investment in quality materials and tools. Compare the cost of a DIY project to that of hiring professional roofers to assess the cost-effectiveness of each option. It’s important to consider the potential risks and expenses associated with any mistakes or issues that may arise during a DIY reroofing project.
Assistance and Backup Plans
Assess your ability to tackle the task alone and consider the need for assistance and backup plans. Reroofing can be physically demanding, and having someone handy to help with heavy lifting or to provide an extra set of hands can be beneficial. Additionally, consider the availability of backup plans in case of unforeseen circumstances, such as extreme weather or personal emergencies. Having a contingency plan in place will help ensure the project can proceed smoothly.
Benefits and Challenges of Solo Reroofing
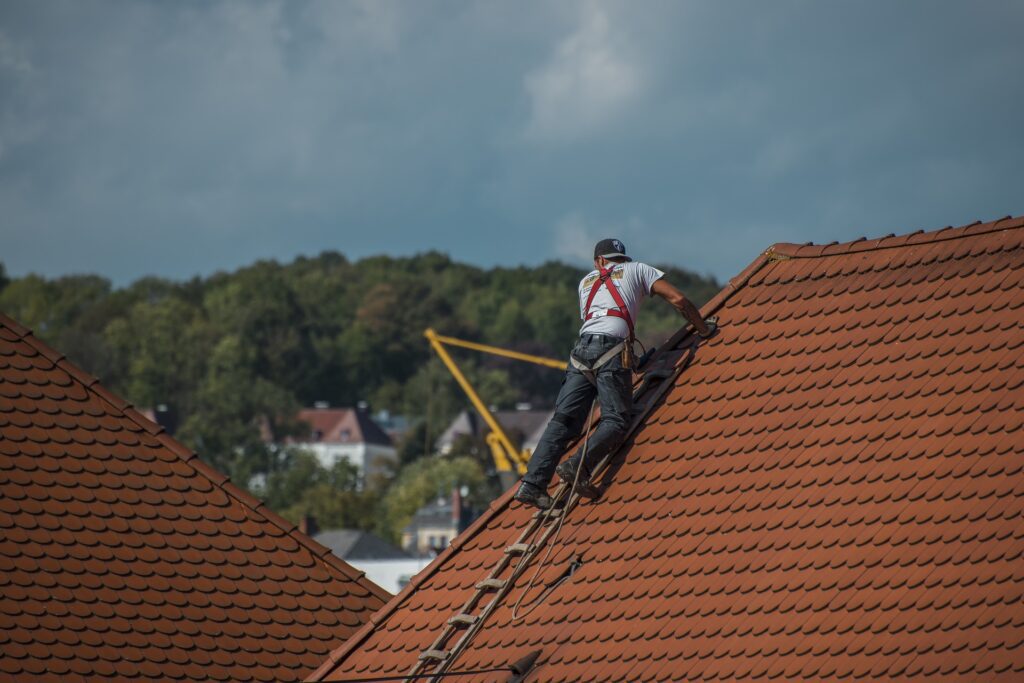
While reroofing a house alone can offer several advantages, it’s important to be aware of the potential challenges and risks involved. Independence and control, potential dangers and risks, efficiency and flexibility, and complexity and learning curve are key aspects to consider.
Independence and Control
One of the primary benefits of solo reroofing is the independence and control it offers. You have complete control over the project and can make decisions based on your preferences and timelines. Being able to work at your own pace and on your schedule can be empowering and fulfilling.
Potential Dangers and Risks
Reroofing a house alone comes with inherent risks and dangers. Working at heights, handling heavy materials and tools, and navigating potential hazards pose safety concerns. It’s crucial to prioritize personal safety and ensure you have the necessary safety gear and equipment. If you are uncomfortable or inexperienced with these risks, it may be safer to hire professionals for the job.
Efficiency and Flexibility
Solo reroofing can provide efficiency and flexibility in terms of scheduling and decision-making. You have the freedom to work at a pace that suits you, without the need to coordinate with others. Additionally, you can make on-the-spot decisions and quickly adapt to any unexpected challenges or changes in the project.
Complexity and Learning Curve
Reroofing a house is a complex task that requires knowledge of roofing techniques, materials, and tools. There is a learning curve associated with understanding the process and ensuring proper installation. It’s important to educate yourself, consult reliable resources, and seek guidance from professionals if needed. If the complexity of the project feels overwhelming, it may be wise to hire experienced roofers who can navigate the intricacies with ease.
Alternatives to Solo Reroofing
While solo reroofing can be a fulfilling and cost-effective option for some, it’s worth considering alternatives that may better suit your needs. Hiring professional roofing contractors or working as a team with assistance are viable alternatives to consider.
Hiring Professional Roofing Contractors
Hiring professional roofing contractors offers several advantages. These experts have the knowledge, experience, and skill required to ensure a successful and efficient reroofing project. They possess the necessary tools, equipment, and safety gear to handle the job effectively. Additionally, professional contractors often provide warranties and guarantees, giving you peace of mind and assurance in the quality of their work.
Teamwork and DIY with Assistance
If tackling a reroofing project alone seems daunting, consider enlisting the help of friends, family, or neighbors. Working as a team allows for a shared workload, making the process more manageable and efficient. Others can provide assistance with tasks such as heavy lifting, material handling, or general support. By dividing the responsibilities, you can still enjoy the benefits of a DIY project while minimizing the risks associated with solo reroofing.
In conclusion, reroofing a house is a substantial project that requires careful planning, preparation, and execution. Assessing the scope of work, checking the roof’s condition, calculating materials and equipment needs, and taking necessary safety measures are crucial steps in ensuring a successful reroofing project. Whether you choose to take on the task alone or opt for professional assistance, understanding the benefits, challenges, and considerations involved will help you make an informed decision and achieve a durable and aesthetically pleasing roof that protects your home for years to come.
